
This is flat bottom zippered pouch tutorial. You need fabric, lining, interfacing and zipper.

Kotikese lõike valmistamise juhend:
Pattern:

Antud lõike järgi tuleb kott mõõtmetega: lais 20cm, kõrgus 14cm ja põhja sügavus 4cm.
NB! Lõikele lisada õmblusvaru 1cm.
Sama lõike järgi lõigatakse nii pealisriie, vooder kui ka liimiriie.
The Bag measurement are: width 20cm, height 14cm and bottom debth 4cm.
NB! Add seam allowance 1cm.
1.Ühenda pealisriie ja liimiriie.
1. Iron on interfacing to pouch fabrics.
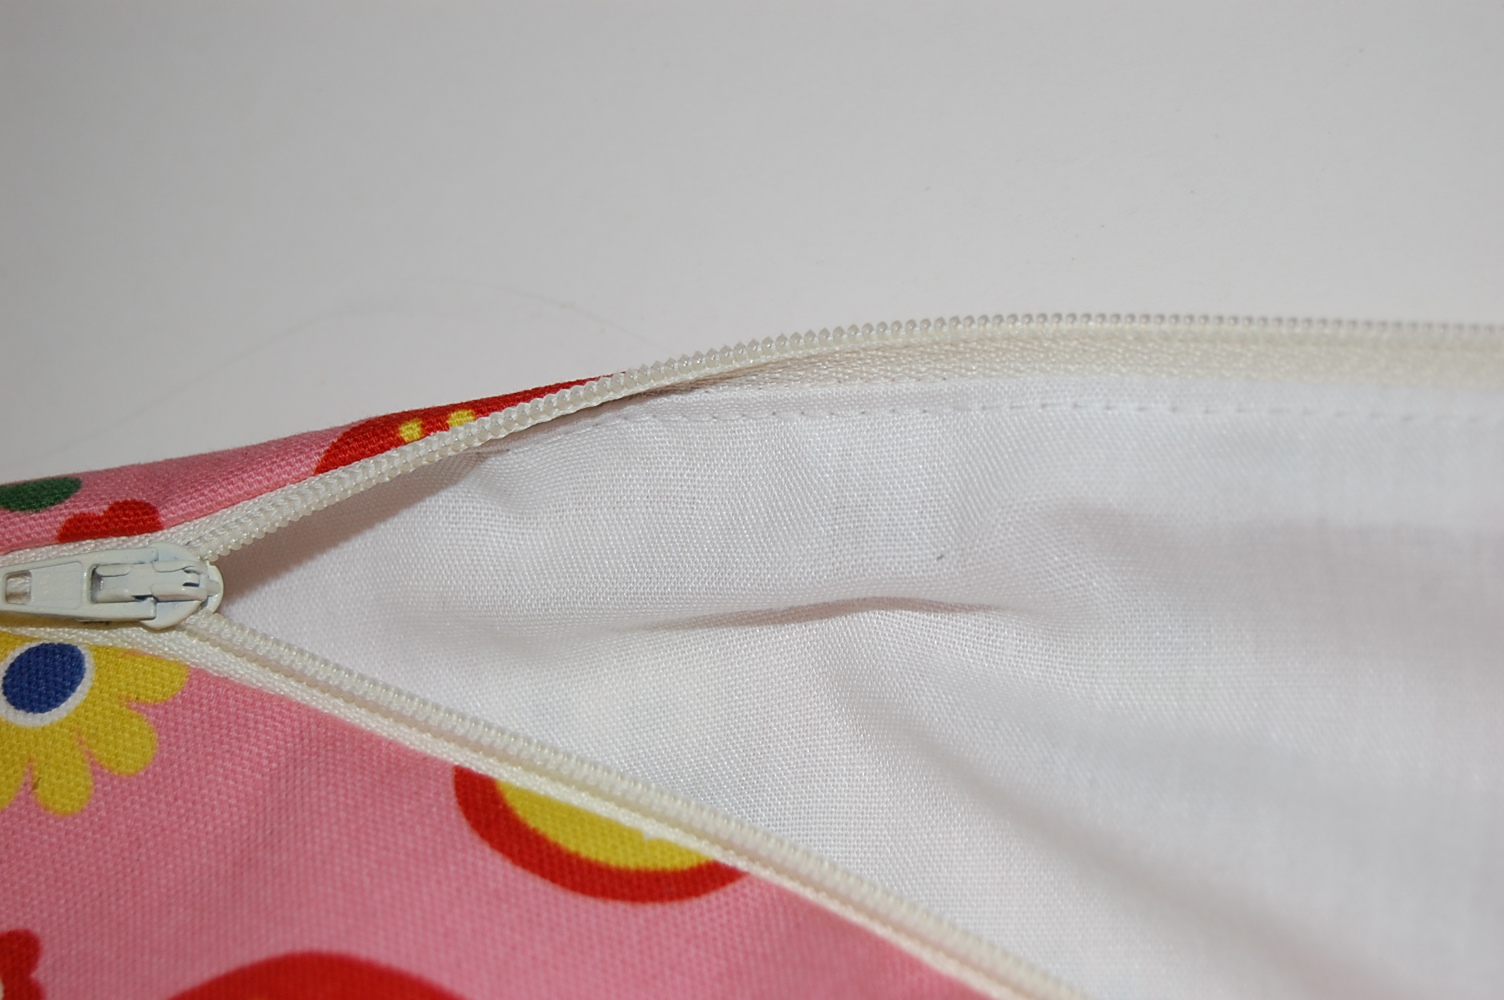
2.Ühenda pealisriie ja lukk 1cm õmblusvaruga.
2.Sew fabric onto the zipper, seam allowance is 1cm.

Kui mõlemad pealisriide servad on lukuga ühendatud on tulemus järgnev:
You will have something that looks like this:

3.Järgmiseks ühenda vooder pealisriide ja lukuga.
3.Sew lining onto the zipper.

4.Tepi õmblusvarud voori poole.
4.Stitch the lining to the zip.

5.Ühenda küljed 1cm õmblusvaruga jättes ühele küljele ümberpööramiseks ava.
5.Sew fabric and lining pieces together but be sure to leave an ample sized opening at the lining side to turn the pouch later on.

6.Nurkade õmblemine nii pealisriidel kui ka voodril.
6.Pull the two pieces of fabric apart and align the seams of the side and bottom. Sew along the cut edge. Repeat until all corners have been sewn.


7.Keera kott ümber (läbi voodri külje sisse jäetud ava) nii, et kanga parem pool jääb nähtavale.
7.Turn the lining down over the rest of the pouch.
8.Õmble kinni voodrisse jäetud ava.
8.Close up the opening either by machine or by hand. Now turn the bag right side out.

Lõpptulemus on selline:
And you get bag like this:


No comments:
Post a Comment